Developing film with instant coffee: part two
Back in April, I wrote about my first attempt to develop photographic film using caffenol, a mixture of instant coffee, soda ash, and Vitamin C.
I’ve developed two more rolls since then. My second attempt at caffenol development was largely forgettable, due in part to the photographic conditions. I attempted to photographic my dog, Teddy, at a lure course, and the speed and lighting were not conducive to good photos. The development process was successful, but the resulting images were rather underwhelming.
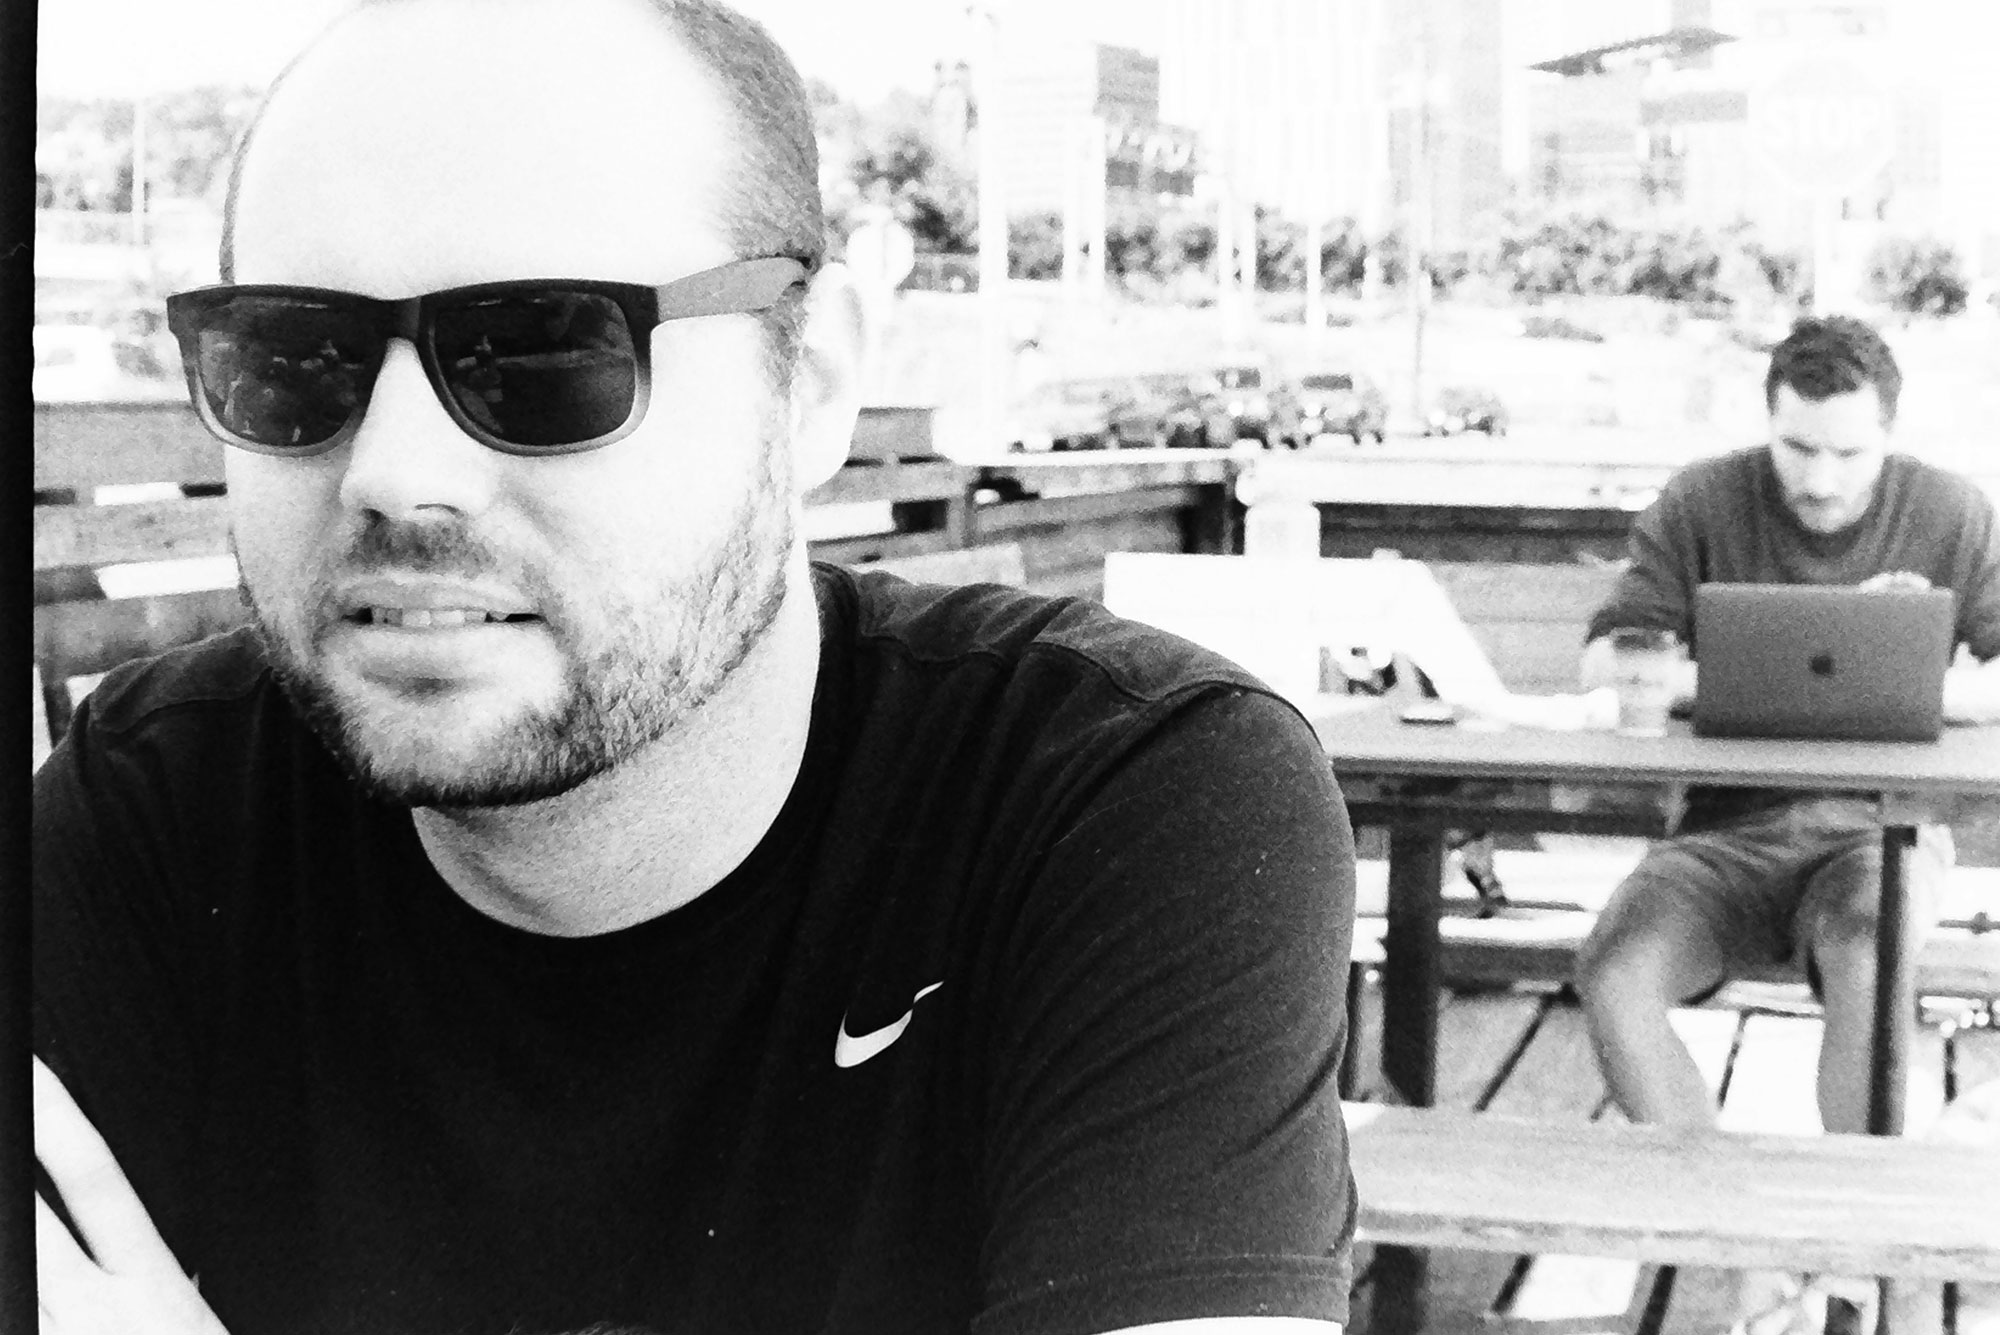
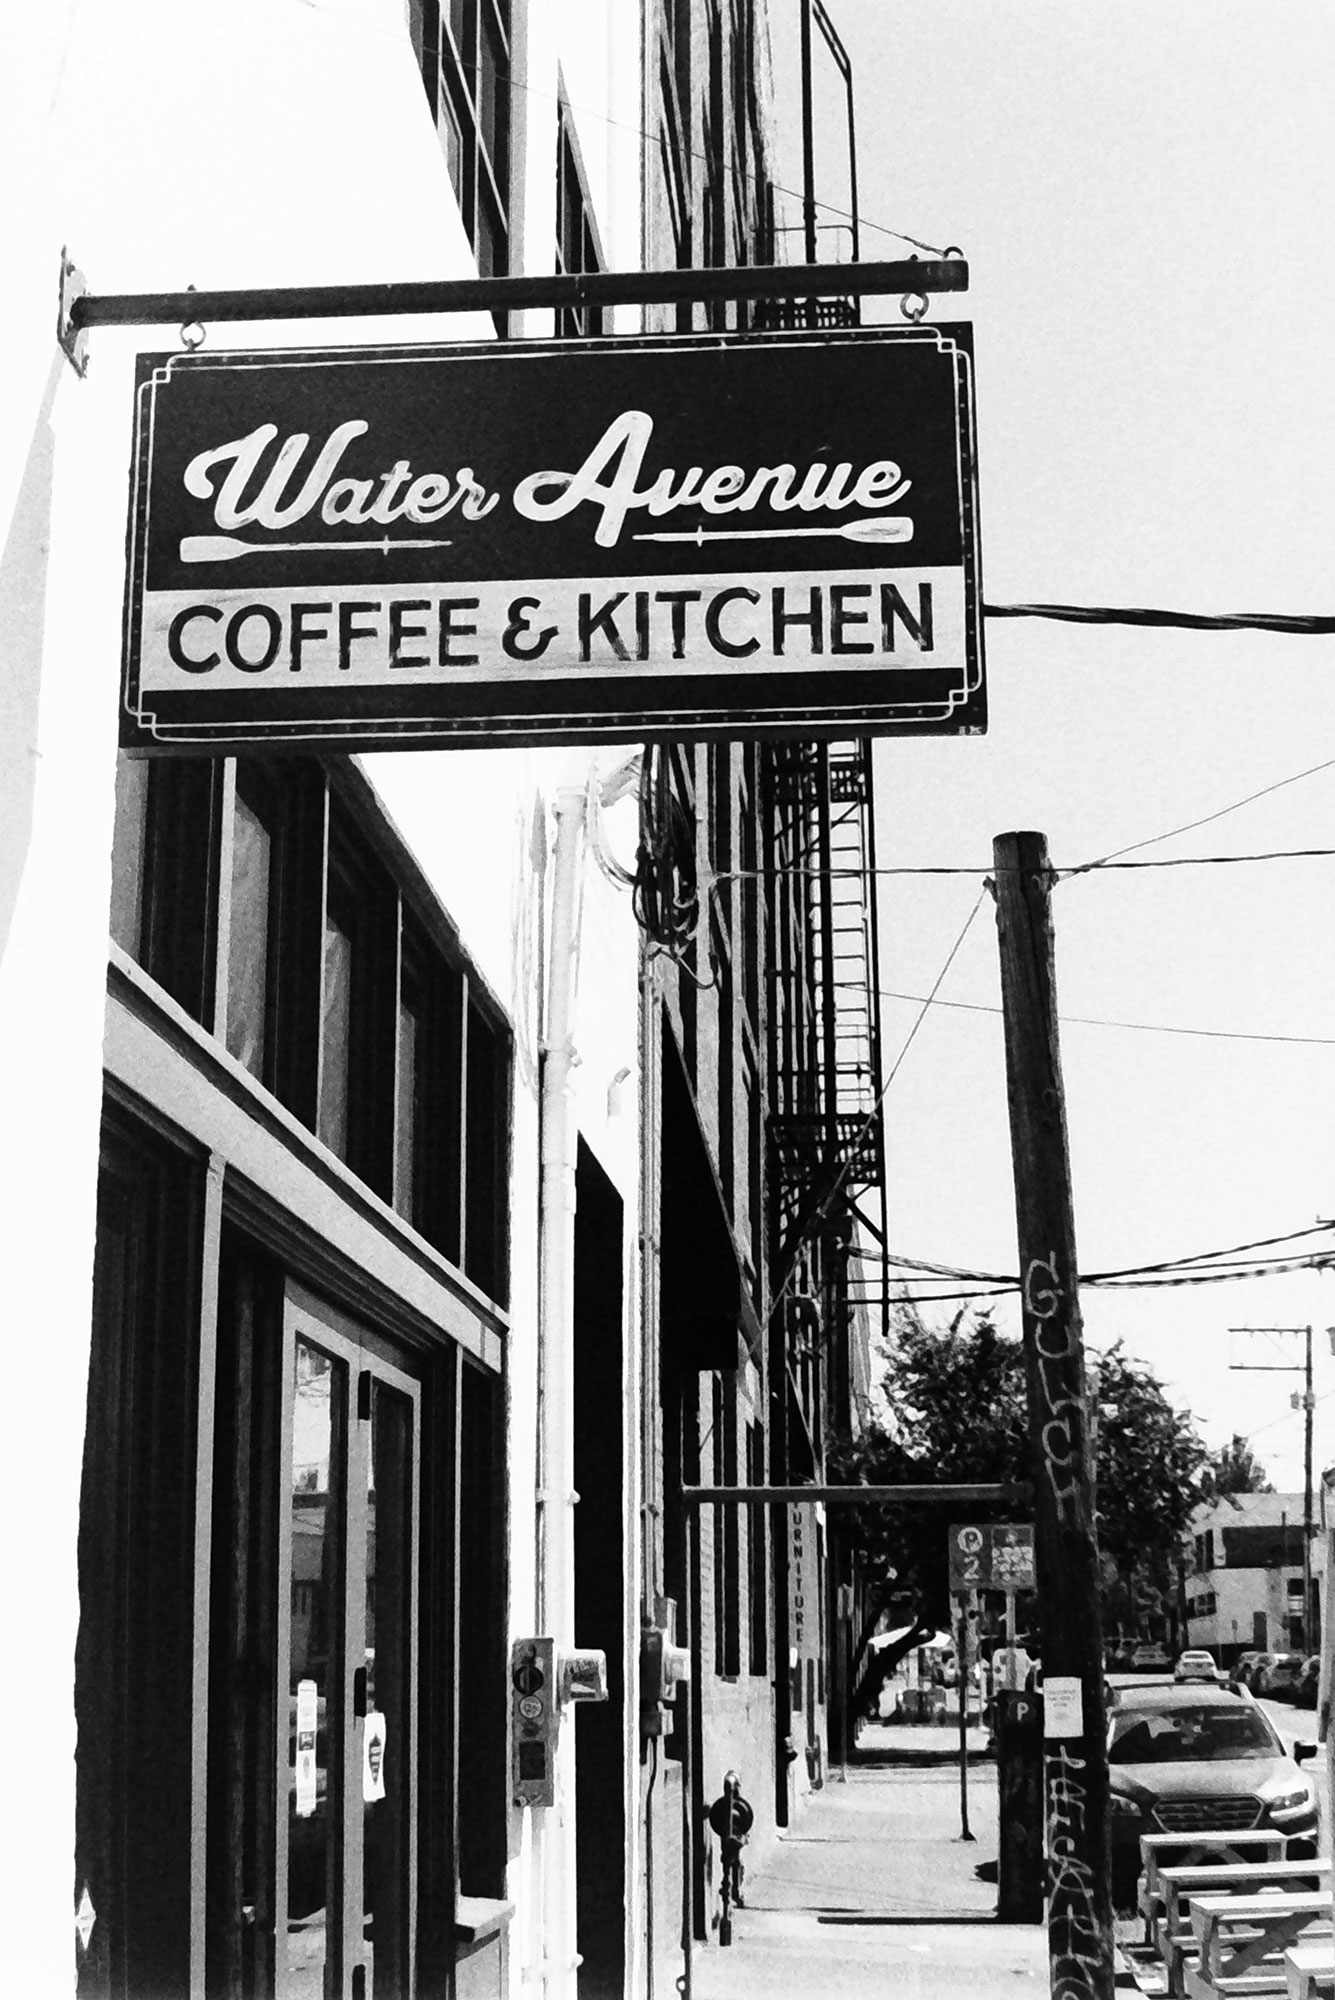
My third attempt came a few weeks ago when I rode my old steel Bianchi into Portland with my cousin and took a few shots along the way. The development process wasn’t perfect (the drying part needs work), but the resulting images are much better. Why? I suspect it’s on account of filters.
The filters
When I started shooting film again, I picked up some filters. It’s well known that black and white photography benefits from the use of filters, but I didn’t bother using them when I started up again. I wanted to focus on the mechanics of the camera and getting back into the rhythms of shooting film.
After my first caffenol attempt in April, I decided to try out three filters:
- Yellow #8
- Orange #21
- Red #29
Because filters in these ranges absorb light on the opposite end of the spectrum, namely blue and green light, they result in higher contrast and (when used better than I did) more interesting skies.
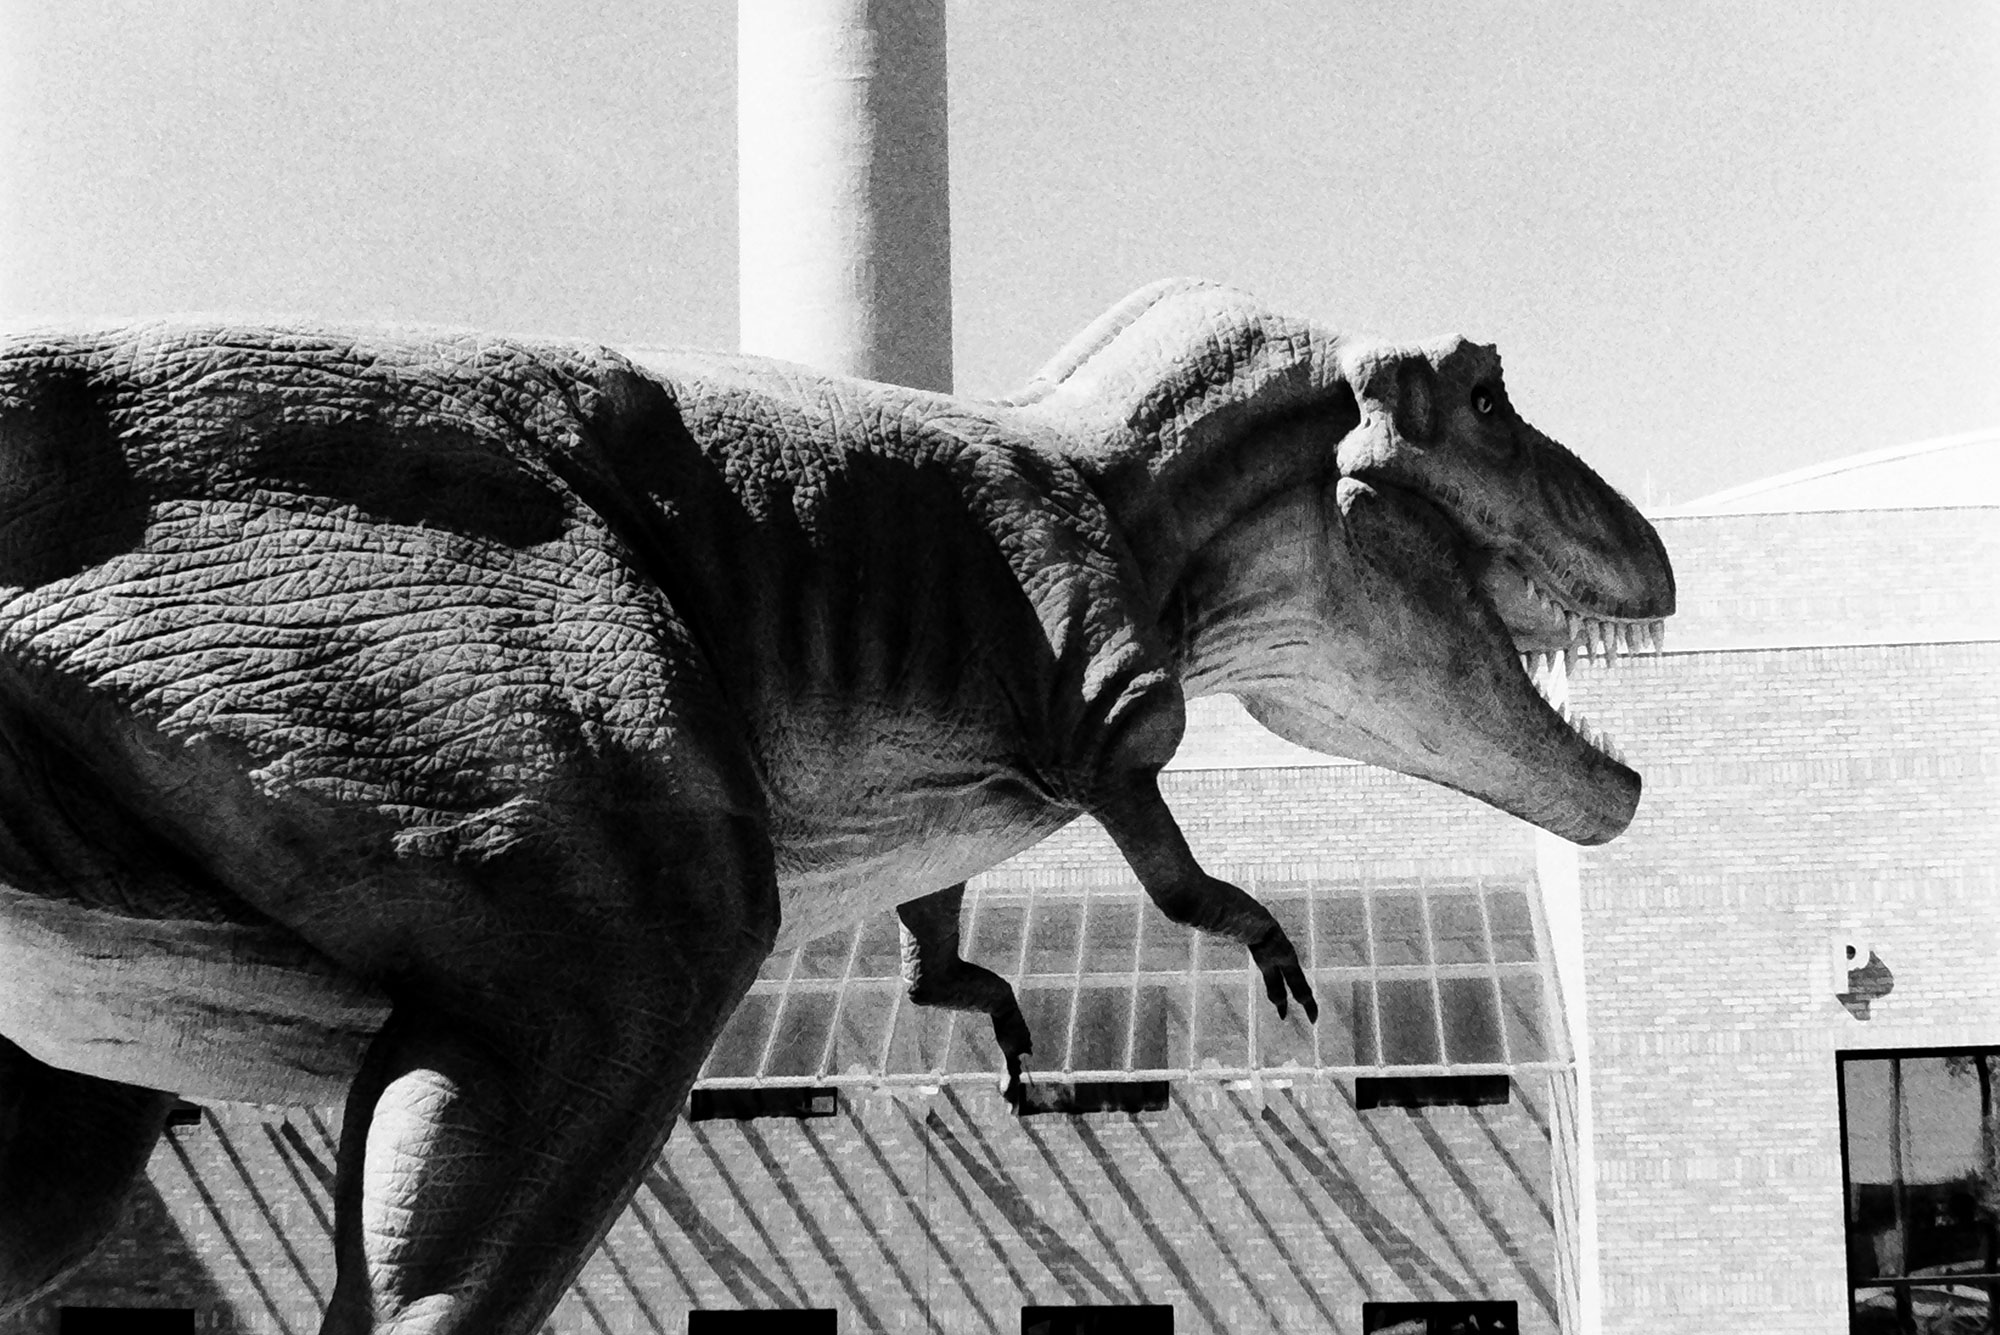
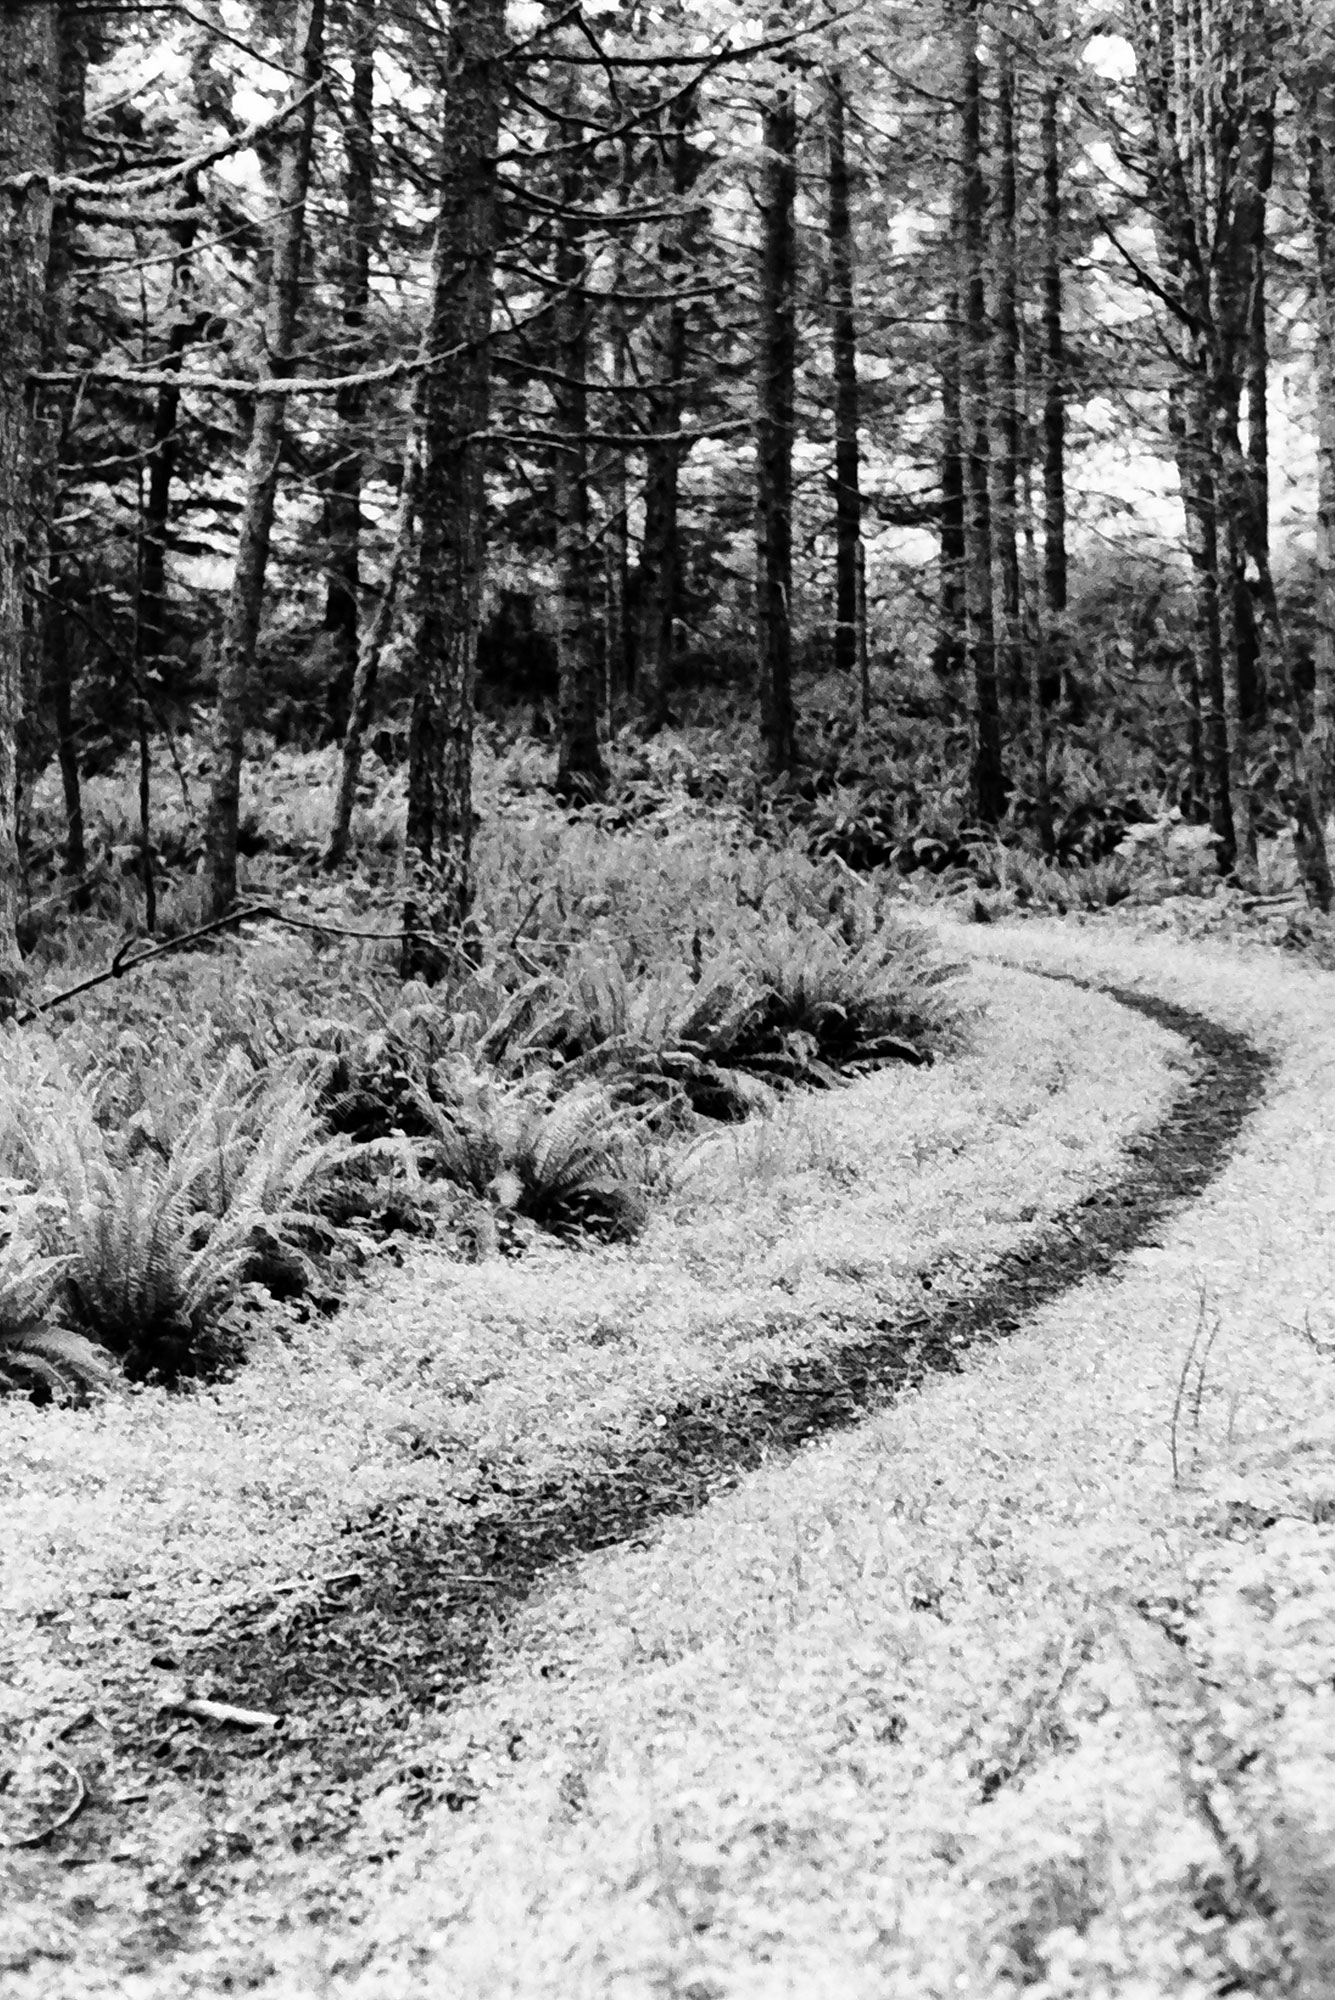
The T-Rex photo above and the forest path photo below were both shot using the yellow filter. The others were all shot with orange and red filters, and developed with caffenol according to the recipe I shared last time.
There’s much more to learn (and re-learn), but I’m enjoying the return to tactile photography.